

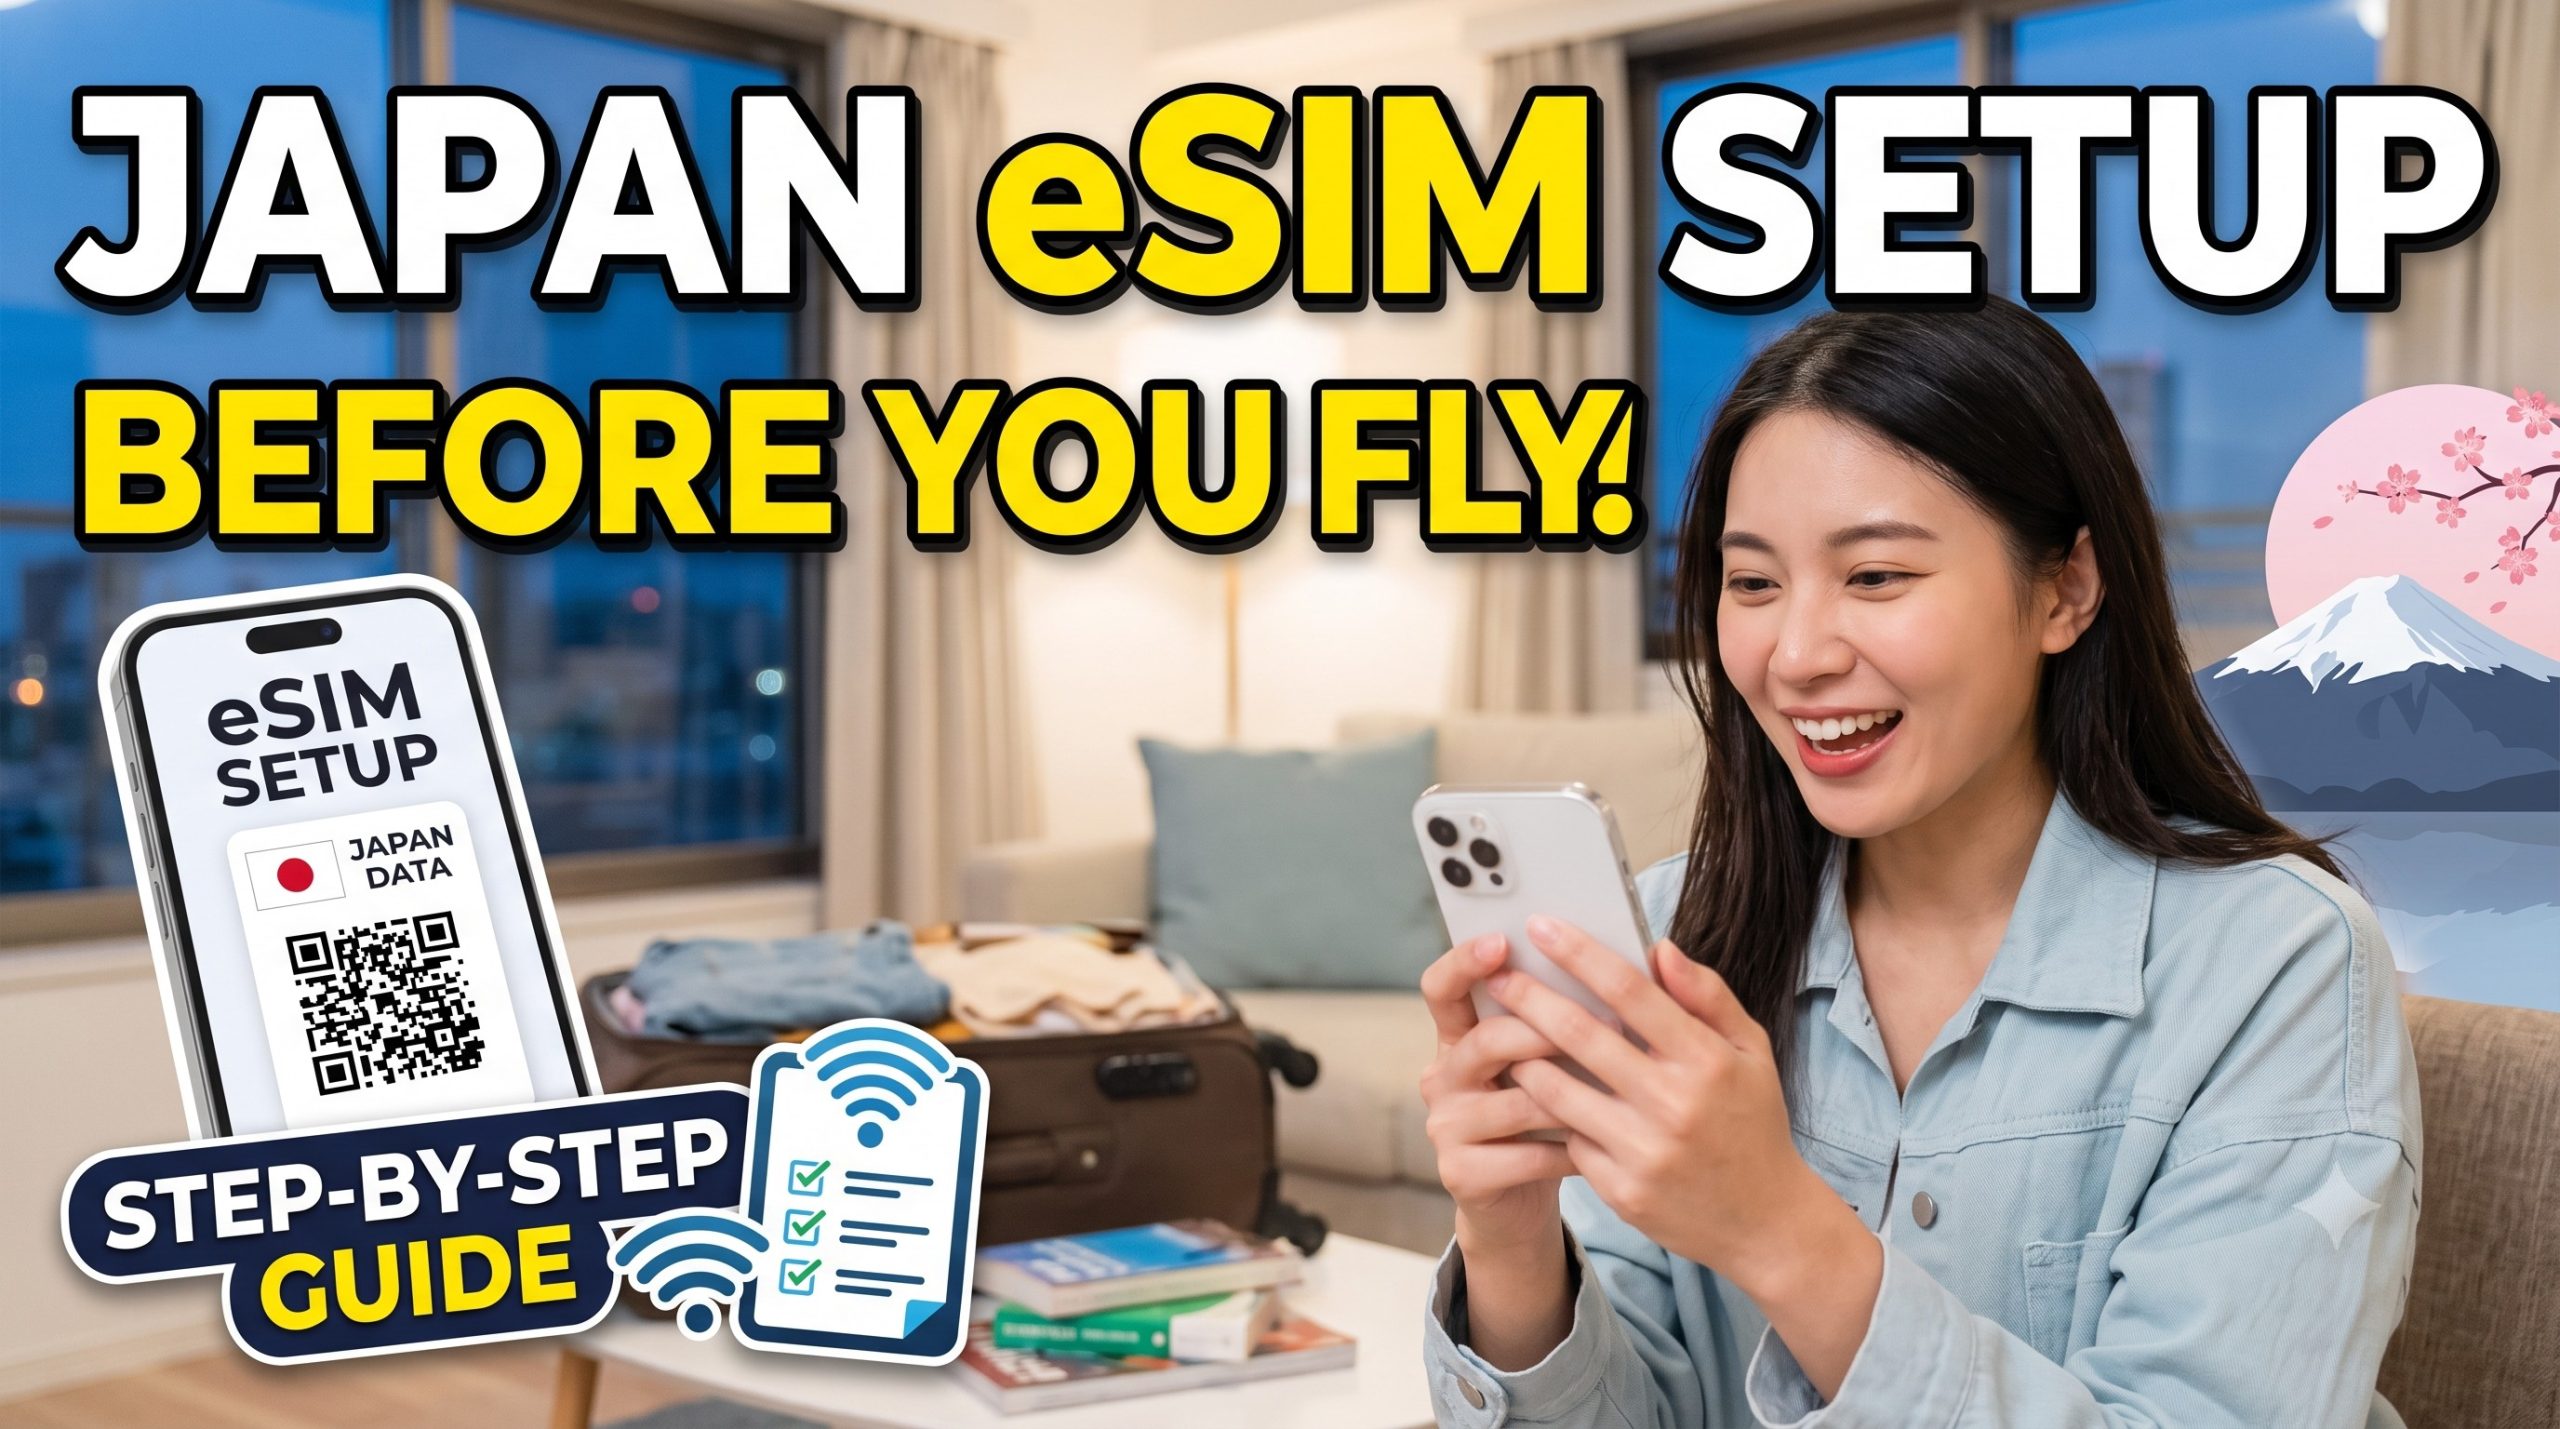
Install your Japan eSIM at home over Wi-Fi before you fly by scanning the QR code from your provider, labeling the new line “Japan,” and leaving data roaming off until you land at Narita, Haneda, or Kansai. With Japan Wireless (JW) eSIM, the QR code arrives within about 2 minutes of purchase by email and on-screen, and the plan activates automatically when you turn on data roaming in Japan.
Doing the install before departure matters because eSIM installation requires a stable internet connection. Airport Wi-Fi works, but you don’t want to troubleshoot a carrier-locked iPhone at the gate or Wi-Fi cuts off while setting up.
The 4-step pre-flight install (iPhone and Android)
- Check compatibility at home. eSIM works on iPhone XR/XS and newer (except mainland-China iPhone models), Google Pixel 4 and newer, and recent Samsung Galaxy flagships. Your phone must be SIM-unlocked by your home carrier — check by calling them before you buy.
- Buy and receive the QR code. After checkout on japan-wireless.com/esim, the QR code appears on screen and in your email inbox within about 2 minutes. Save the email; the QR is single-use and cannot be reinstalled if you delete the line.
- Install the eSIM over home Wi-Fi.
- iPhone: Settings → Cellular → Add eSIM → Use QR Code → scan. Label the line “Japan.” Set your home line as the default voice line and keep the Japan line’s data roaming off for now.
- Android (Pixel/Samsung): Settings → Network & Internet (or Connections) → SIMs → Add eSIM → scan QR. Name the profile “Japan” and disable it until arrival.
On landing in Japan: turn on data roaming for the Japan line and turn off cellular data on your home line to avoid roaming charges. JW’s 5G Unlimited connects on KDDI’s network; the 4G LTE Unlimited connects on IIJmio (a docomo-network MVNO).
Japan eSIM Setup guide (with video tutorials)
When to install: before departure vs. at the airport
Install at home 1–3 days before your flight. Two reasons: (1) the install needs a stable internet connection, and (2) if something goes wrong — usually a carrier-locked device — JW’s Japan-based support answers 7 days a week by chat, email, and phone in 7 languages. If the eSIM still cannot connect after guided troubleshooting, JW ships a Pocket WiFi for free as backup, which no other Japan eSIM seller offers.
Do not activate data roaming on the Japan line before you leave home. On JW plans, the clock starts when the eSIM connects to a Japanese network, so activating early in your home country can burn a day of a 5-day plan.
Japan eSIM install and price comparison
| Provider | Entry price (USD) | Install / activation note |
|---|---|---|
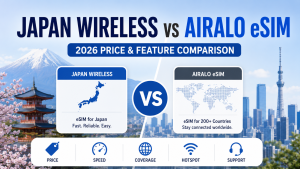
| JW eSIM (5G Unlimited, KDDI) | $16.63 for 2 days; $62.39 for 14 days (or $13.30 and $49.91 respectively with 20% discount) | QR in ~2 min; free Pocket WiFi if it won’t connect after support checks |
| Holafly (unlimited, KDDI/SoftBank) | $27.50 for 7 days; $50.50 for 15 days | QR by email; refunds available up to 6 months, including incompatible-device refunds; hotspot capped at 1 GB/day |
| Airalo (marketplace) | From $4 for 1 GB | QR in-app; small fixed buckets, no physical backup |
| Ubigi (docomo) | From $4.3 for 1 GB; $16.5 for 10 GB | QR or in-app profile; NTT-owned |
Common install mistakes that cause “no service” in Japan
- Device is carrier-locked. The install may complete, but the line won’t register on KDDI or IIJmio. Unlock with your home carrier before you fly.
- You deleted the eSIM after installing. QR codes are one-time. If you remove the line, you cannot rescan the same QR.
- Data roaming is off. The Japan line will show “No Service” until you toggle data roaming on for that specific line after landing.
- Wrong APN. JW’s install instructions include the APN; if you edited it, reset it per the confirmation email.
- Home SIM left on data. This is how travelers get $300 roaming bills. Turn off cellular data on your primary line before you clear immigration.
Frequently Asked Questions
Can I install a Japan eSIM before my flight?
Yes, you can and should install your Japan eSIM 1 to 3 days before your flight over Wi-Fi. The plan only starts consuming days when it connects to a local Japanese network upon arrival at Narita, Haneda, or Kansai.
What happens if I install the eSIM but don’t activate it?
Installing the eSIM without turning on data roaming uses zero days of your plan. JW eSIM plans only activate once the line connects to KDDI or IIJmio in Japan. You can safely complete setup at home, leave the line disabled, and switch it on after landing without losing any plan time.
Does my phone need to be unlocked to install a Japan eSIM?
Yes. Your iPhone or Android must be SIM-unlocked by your home carrier. Compatible models include iPhone XR/XS and newer (except mainland-China iPhones without eSIM hardware), Google Pixel 4 and newer, and recent Samsung Galaxy flagships. Call your home carrier before purchase to confirm unlock status — a locked device is the most common reason installs succeed but service never registers.
What if the QR code doesn’t scan or the eSIM won’t connect?
Contact JW’s 24/7 Japan-based support team immediately via chat, email, or phone. They will guide you through APN, line selection, and data roaming checks. If guided troubleshooting cannot solve the connection issue, JW will issue a free backup Pocket WiFi.
Can I install the same QR code on a second phone?
No, travel eSIM QR codes are single-use only. Once installed, scanning the code on a second phone or reinstalling it after deletion will result in an error. If traveling with companions, purchase additional profiles—buying 2 or more eSIMs automatically applies a 20% discount at checkout.
Will installing the eSIM use my home data plan?
No, as long as you perform the setup over Wi-Fi and keep data roaming off for the new line. Once installed, the profile sits dormant. To avoid accidental charges from your primary provider, disable cellular data on your home line before landing in Japan.